 English
 French
 German
 Spanish
 Russian
Any of the images on this page can be viewed at full size. Just click!
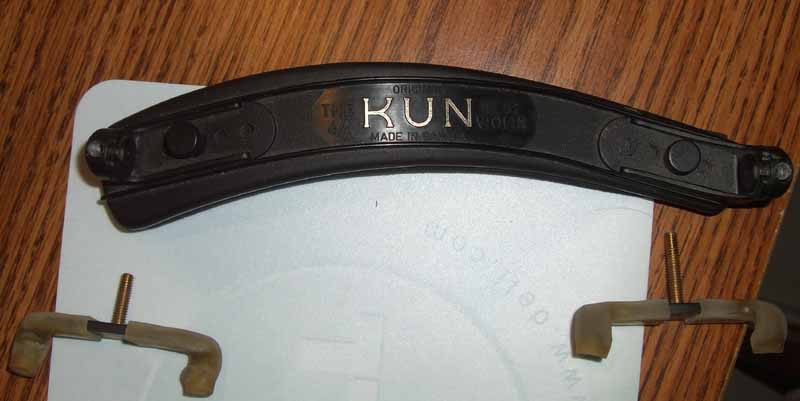 When you remove the shoulder rest from the box you’ll see that it is in three pieces. There is the shoulder rest pad itself and two legs. The taller of the two legs will be screwed into the skinnier of the two sides while the shorter leg is screwed into the fatter end.
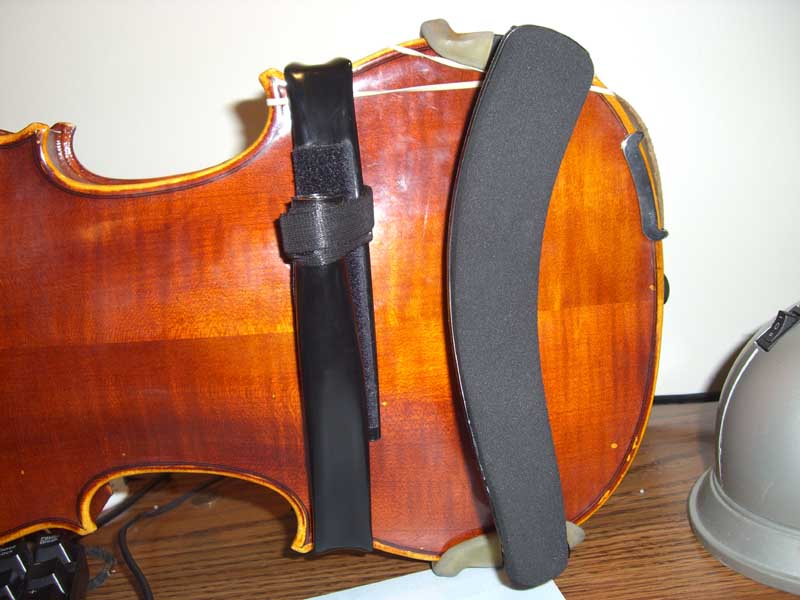
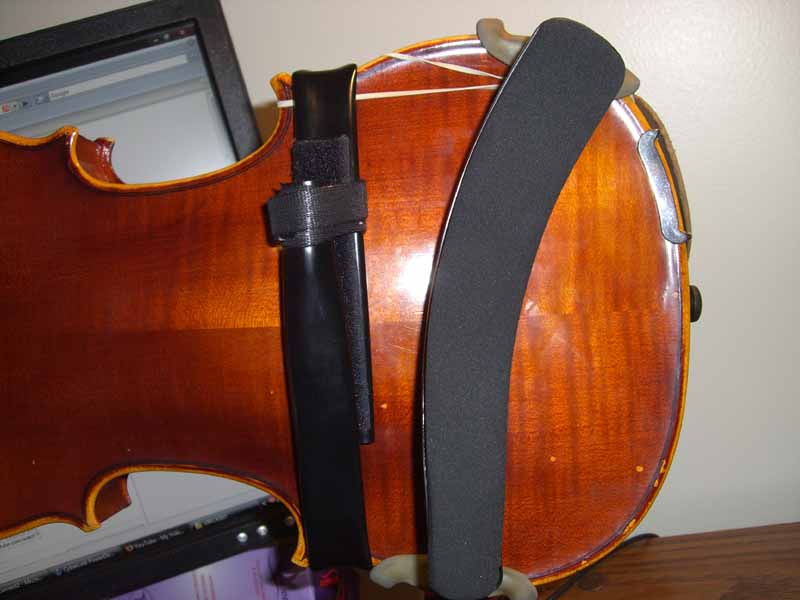
To adjust the placeholders, just unscrew the cap and move one notch in or out, depending on the size of your violin. When you have sized it correctly, replace the cap and screw tightly. To attach the shoulder rest to the violin, put the violin on your lap with the neck on the left, back facing you. 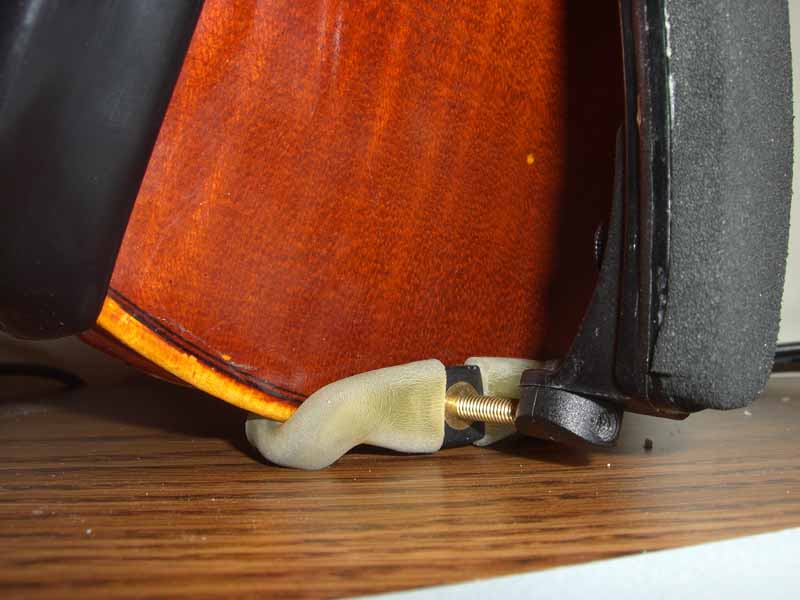 With the skinny side on bottom, rest the violin on top of the curls of the rubber foot.
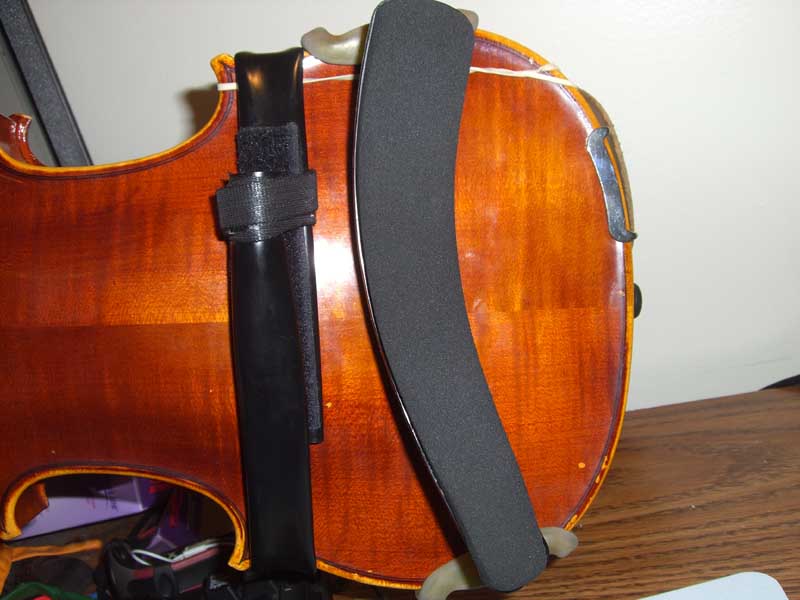
Move the top half over and you should have a snug fit. 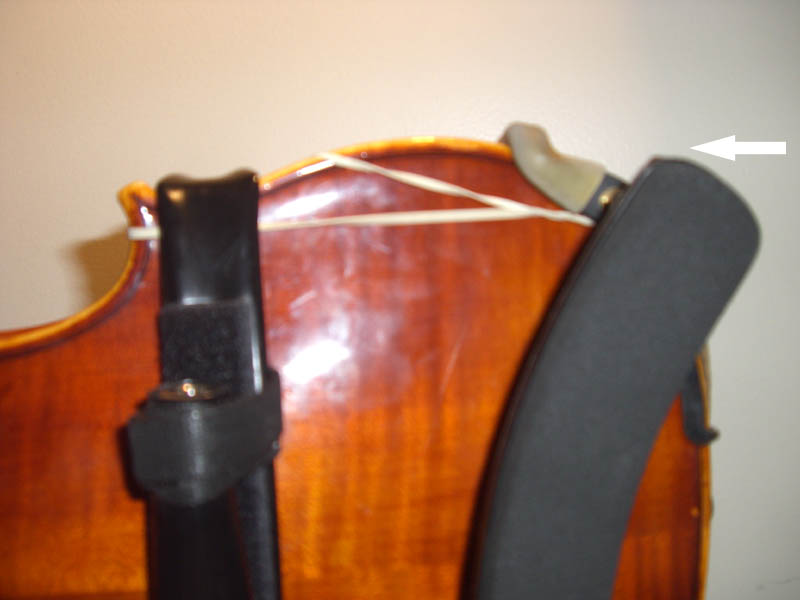 If the shoulder rest falls off then your placeholders are too wide, if its very difficult to put on then they may be too narrow. Adjust accordingly.
Test
Place the violin on your shoulder. How does it feel? Are the corners hitting your shoulder or neck? Experiment with the placement and angle of the shoulder rest by moving it back and forth.
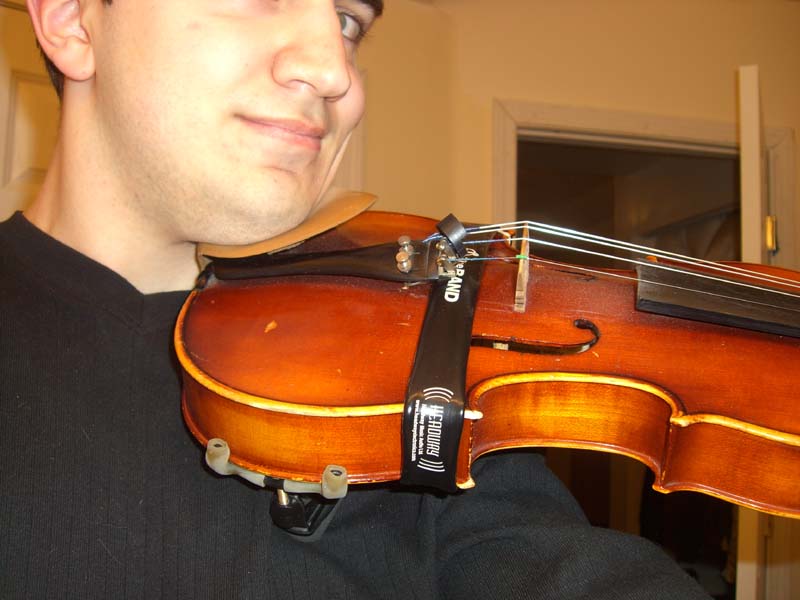 Can you hold the violin up without your hands? Can you stay fairly relaxed while doing it? Although its a new feeling, it shouldn’t feel too stressful or achy. If it isn’t relaxed like this example to the right, try comparing to those below.
Possible Problems
If you have to push down or crunch hard with your neck, chances are the feet are too short. If this is the case, then try unscrewing the legs a little bit to make it taller. 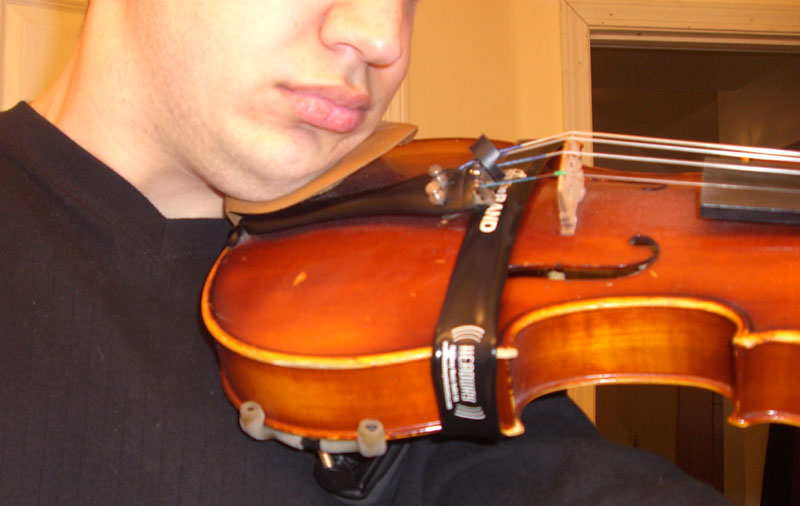 Does it feel like you really have to put your chin up high to hold up the instrument? Your shoulder rest may be too tall! Try screwing the legs IN to make it shorter.
 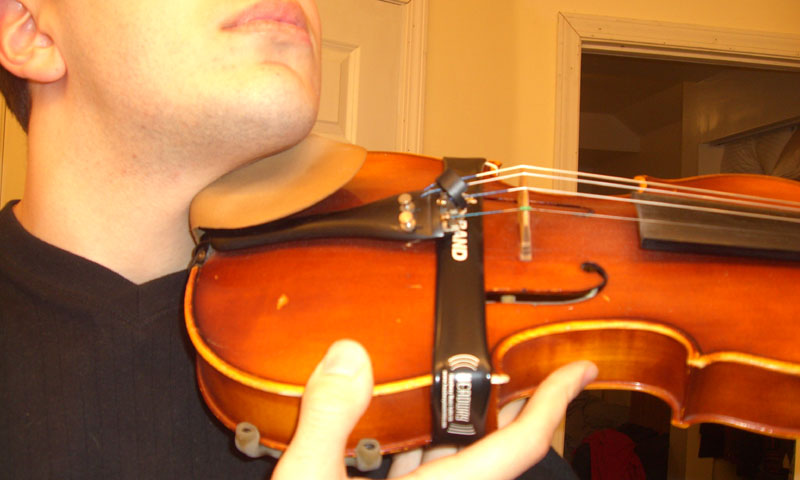 If you have any questions, ask!
Recommended Shoulder Rests
[amazon-product alink=”0000FF” bgcolor=”ffffff” bordercolor=”000000″ height=”240″ tracking_id=”stringsavvyco-20″ width=”120″]B0007UOGTE[/amazon-product]
[amazon-product alink=”0000FF” bordercolor=”000000″ height=”240″ tracking_id=”stringsavvyco-20″ width=”120″]B000F6FUIG[/amazon-product]
Hey thanks a lot! I bought mine but didn’t know how to set it up!!! I’m bookmarking your page for future reference!
WOW – thank you, you made it so easy!
Hey thanks for this! I just got an electric violin today and am pretty excited about learning how to play and this saved me a lot of time xD
this is great!
Thanks bdy….
Hmmm Thanks for this but I use a Wolf…. But this was helpful anyways
OOH I got it now!you guys are the best!